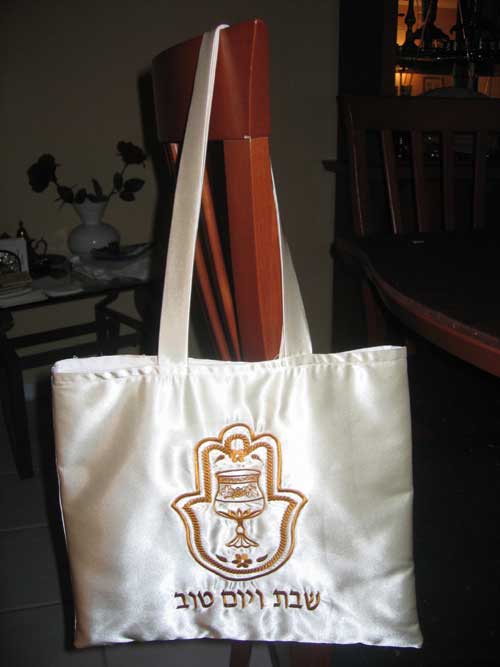
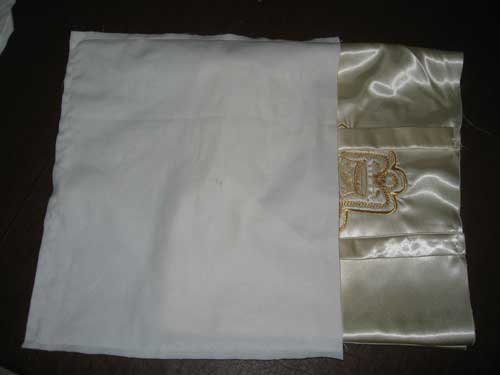
Shabbath Bag with Hamsa and Kiddush Cup.
Photos and instructions have been emailed to us by Rachel from Florida. Rachel, thank you for the great project!
Rachel created this bag using 2 embroidery designs: Hamsa from Hamsa Applique set and Kiddush cup from Rosh Hashanah set.
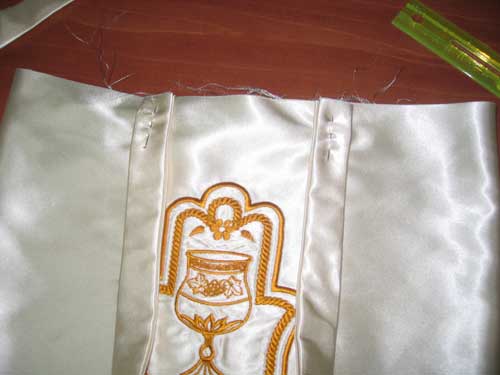
Closeup:

Instructions
- Bag: Cut 2 pieces of satin fabric 12 x 14 inch each.
- Lining: Cut 2 pieces of cotton or other similar fabric in same color: 12 x 14 inch each.
- Handles: Cut 2 pieces of the satin fabric 2 ½ x 20 inch each.
- With the help of EMBIRD EDITOR or any other similar program:
- Use Hamsa10 from the Hamsa Appliqué Machine Embroidery Designs set. Resize the wine cup from Rosh Hashanah Machine Embroidery Designs set to fit inside the Hamsa.
- Change all colors to one color of your choice.
- Insert the Hebrew words Shabbat Ve'Yom Tov at the bottom of the design.
- Have the program combine the 2 pictures and words into one design.
- Hoop 1 piece of the satin fabric with a tear away stabilizer under it, the 14 inch sides are at the top and the bottom of the hoop. Embroider the design in the center.
- Clean up the back and front of the embroidered design. Iron with a steam iron.
- Put the 2 Satin pieces right sides together. Sew 3 sides together, leaving the top (14 inch long) open.
- Do the same with the lining fabric.
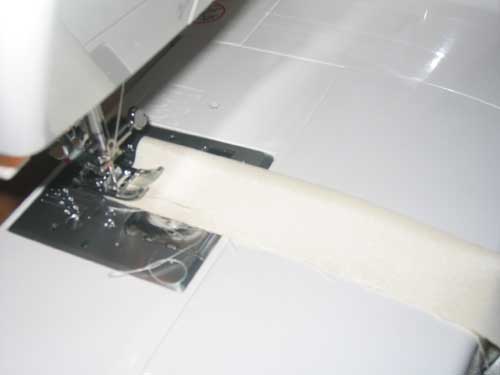
- Fold each one of the satin handle pieces to the length, right side in. Sew along the 20 inch edge only.
- Use a large safety pin to catch one end and turn the handles right side out. Iron.
- Bag's Front: on the top, Measure 3 ¾ inches from the sewn side and pin one end of the 1 st handle - seem facing the center of the top. Measure 3 ¾ inches from the other side and pin other end of the 1 st handle (both seems facing each other). Repeat the same with the 2 nd handle and pin to the top of the back.
- Sew one handle to the front & one handle to the back of the bag.
- Make sure handles in the front and back of the bag are falling towards the bottom of the bag. Keep the lining fabric outside out. Slide the bag & handles carefully into the lining. Bag's right sides and lining's right sides will face each other with the handles between them. Pin the tops together. Sew around the top leaving a 2 inch opening.
- Pull the bag and handles out through the 2 inch opening. Push the lining inside the bag. Iron.
- Sew around the top of the bag in a straight stitch or use a design using thread in the same color as the bag,
- Iron.
 Hey there!
 50% off all designs – the discount will be applied automatically in your cart.
 Free design:
 Still Free! design: