
Step-by-Step Guide to Embroidering Bookmarks
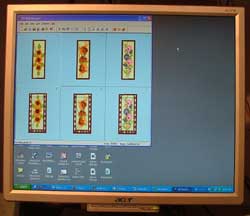 |
1. Transfer embroidery file you received from us to the memory card of your embroidery machine. The embroidery file, together with the color card are compressed into a ZIP file. Unzip the file to a folder on your computer using WinZip or a similar program. Color card you can print or open on your monitor but don't forget to mark steps "done". We use as example sweetpea flowers bookmark. |
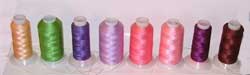 |
2. Select the required colors, using the description in our color chart that came with embroidery file (it has the same name as embroidery file + "info" extention.) We strongly recommend to use the same bobbin color as your thread for first (background) and last (frame) colors. |
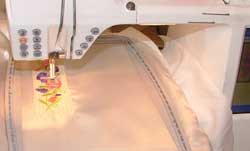 |
3. Use a hoop of size 5" x 7". Hoop the fabric and stabilizer. Install the loop onto your embroidery machine and embroider each color in turn. |
 |
4. At every pause, carefully take the hoop off and remove all jump stitches. (It is necessary if you see "remove jumps here" in our color chart after some colors, otherwise you could remove all jumps at the end of embroidering) |
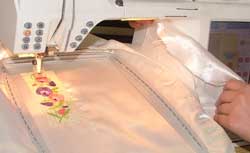 |
5. Before embroidering the final color - the frame - stretch some material across the back of the embroidery. It should be silkier fabric, we like satin. It will hide the threads at the back of the embroidery. In our color chart you'll see "put your back fabric here" instruction on this step. |
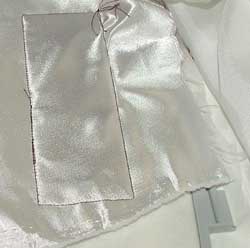 |
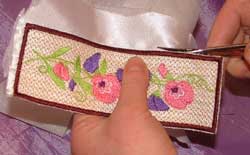
6. After the next stop take the hoop off... |
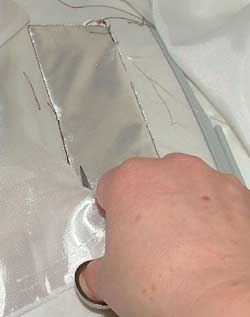 |
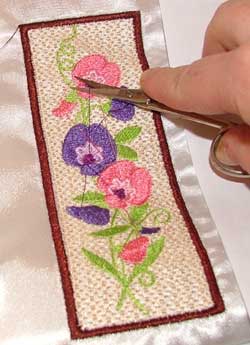
7. ...and carefullly cut your back fabric edges like applique - as close to the seam as you can.
|
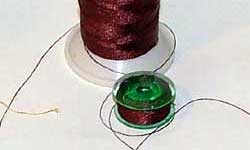 |
8. Don't forget to change bobbin before the final color. |
 |
9. Embroder the final color (frame). Remove the finished embroidery from the machine, take it out of the hoop and carefuly cut neatly along the edge of the motif.
|
Your bookmark is ready!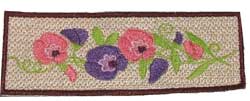 |
|
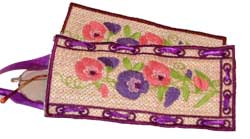
| Add to this fine bookmark matching glasscase - and you have a great gift. |
|
|
Use the following sets to create a similar project: 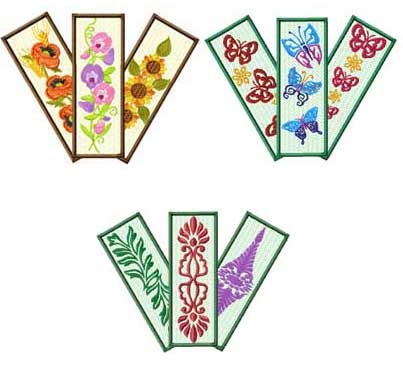 |

